Run a service locally
Running a service locally is helpful to test and debug. The following sections provide commands for starting and stopping a single service locally.
Prerequisites
In order to run your service locally, you will need to have the following prerequisites:
-
Java 21, we recommend Eclipse Adoptium
-
Apache Maven version 3.9 or later
Starting your service
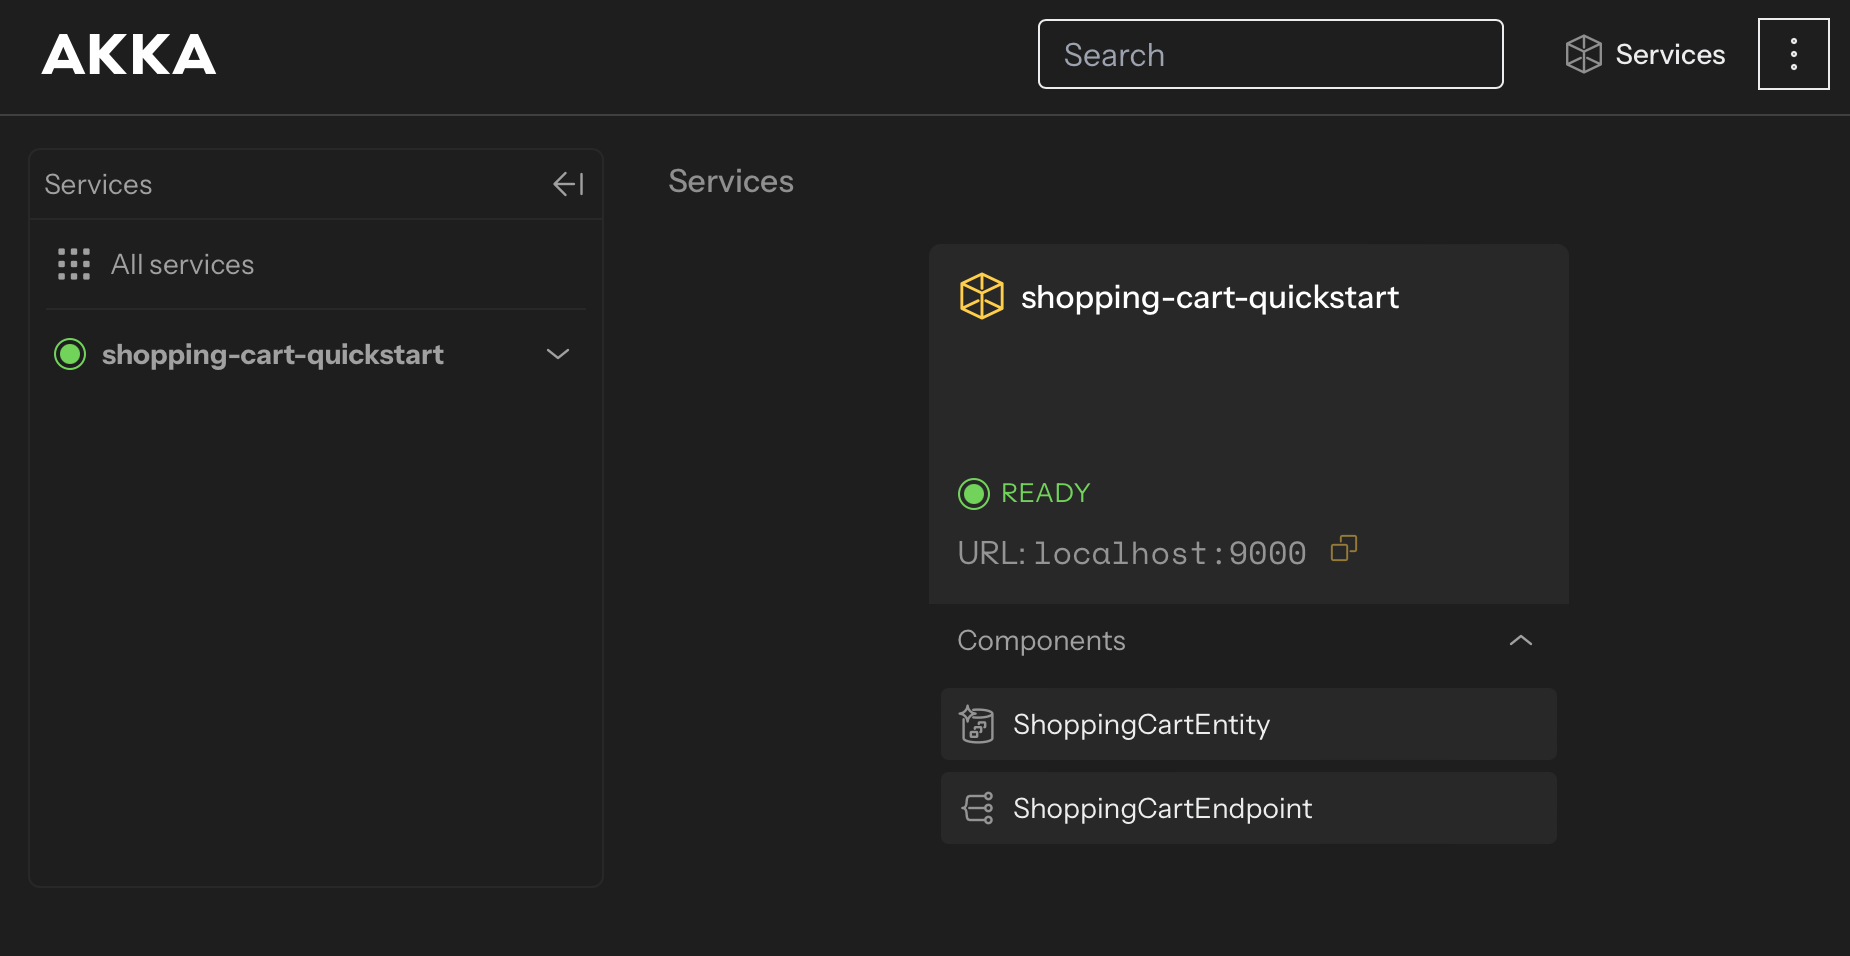
As an example, we will use the Shopping Cart sample.
To start your service locally, run the following command from the root of your project:
mvn compile exec:javaInvoking your service
After you start the service it will accept invocations on localhost:9000. You can use cURL in another shell to invoke your service.
Run from IntelliJ
The getting started sample and other samples include a run configuration for IntelliJ. In the toolbar you should see:

This is a Maven run configuration for mvn compile exec:java. You can also run this with the debugger and set breakpoints in the components.
Local console
The local console gives you insights of the services that you are running locally.
To run the console you need to install:
Start the console with the following command from a separate terminal window:
akka local consoleStart one or more services as described in Starting your service and they will show up in the console. You can restart the services without restarting the console.
Running a service with persistence enabled
By default, when running locally, persistence is disabled. This means the Akka Runtime will use an in-memory data store for the state of your services. This is useful for local development since it allows you to quickly start and stop your service without having to worry about cleaning the database.
However, if you want to run your service with persistence enabled to keep the data when restarting, you can configure
the service in application.conf with akka.javasdk.dev-mode.persistence.enabled=true or as a system property when starting the service locally.
mvn compile exec:java -Dakka.javasdk.dev-mode.persistence.enabled=trueTo clean the local database look for db.mv.db file in the root of your project and delete it.
The path of the database file can be changed by passing the akka.persistence.r2dbc.connection-factory.database system property when starting the service. H2 appends .mv.db to the configured value, so the following produces ./target/my-service-db.mv.db:
mvn compile exec:java -Dakka.javasdk.dev-mode.persistence.enabled=true -Dakka.persistence.r2dbc.connection-factory.database=./target/my-service-db
This must be set as a system property — the runtime does not read it from your service’s application.conf.
|
Running a service with broker support
By default, when running locally, broker support is disabled. When running a service that declares consumers or producers locally, you need to configure the broker with property akka.javasdk.dev-mode.eventing.support=kafka in application.conf or as a system property when starting the service.
mvn compile exec:java -Dakka.javasdk.dev-mode.eventing.support=kafkaFor Google PubSub Emulator, use akka.javasdk.dev-mode.eventing.support=google-pubsub-emulator.
For Kafka, the local Kafka broker is expected to be available on localhost:9092. For Google PubSub, the emulator is expected to be available on localhost:8085.
|
For a deeper walkthrough — docker-compose.yml snippets, alternate hosts, authentication for Kafka, and Pub/Sub emulator setup — see Running locally with a message broker.
Running multiple services locally
A typical application is composed of one or more services deployed to the same Akka project. When deployed under the same project, two different services can make calls to each other or subscribe to each other’s event streams by simply using their logical names.
The same can be done on your local machine by configuring the services to run on different ports. The services will discover each other by name and will be able to interact.
The default port is 9000, and only one of the services can run on the default port. The other service must be configured with another port.
This port is configured in akka.javasdk.dev-mode.http-port property in the
src/main/resources/application.conf file.
akka.javasdk.dev-mode.http-port=9001With both services configured, we can start them independently by running mvn compile exec:java in two separate terminals.
Invoking cloud based services from local services
Sometimes, when developing services locally that depend on other services, rather than running those services locally as well, it is more convenient to use instances of those services running in the cloud. Akka allows this through its backoffice proxy. The cloud services do not need to be exposed to the internet, rather, requests are forwarded through a proxy that authenticates and authorizes developers using their Akka platform credentials.
| By default, local services use an in-memory data store, so state is lost on each restart. When connecting to cloud-based services, this means views and consumers subscribed to cloud event streams must replay events from the beginning on each restart, which can be slow for large event stores. To preserve local state and offsets across restarts, see Running a service with persistence enabled. |
To do this, you will need to have the Akka CLI installed on your path, and be logged in with the backoffice or admin role on the project you wish to use. Alternatively, if the Akka CLI is not installed, the AKKA_REFRESH_TOKEN environment variable can be set with a valid refresh or service token.
Backoffice services can be configured in src/main/resources/application.conf, by specifying the project that the services run in:
akka.javasdk {
  dev-mode {
    backoffice.services {
      my-service-a {
        project = "my-akka-project"
      }
      my-service-b {
        project = "my-akka-project"
      }
    }
  }
}
With the above configuration, all calls made to my-service-a and my-service-b from your locally running service will be proxied to the project my-akka-project hosted in the cloud. This includes invoking other services using the HTTP client provider or gRPC client provider, consuming events from Service to Service Eventing producers hosted in other services, and invoking MCP Endpoints hosted in other services.
Other configuration options are shown here:
akka.javasdk {
  dev-mode {
    backoffice.services {
      my-service-a {
        project = "my-akka-project"
        organization = "my-organization"
        service-name = "service-a"
        region = "gcp-us-east1"
      }
    }
  }
}-
project- This can either be the project UUID, or the project name. -
organization- This is usually not necessary, however if you ar referring to the project by its name, and you are a member of two organizations that have projects with that same name, this will be used to disambiguate them. Either an organization UUID or an organization name can be set here. -
service-name- Can be used if you wish to use a service with a different name running in the cloud to the one referenced from your locally running service. -
region- If you have a multi-region project, and you do not want to use the primary region, this can be used to select the region.
Running a local cluster
To run a service project as a local cluster, see this page.