Activity agent
|
New to Akka? Start here: Use the Spec-first hello agent guide to use your AI assistant for implementing a simple agentic service, running it locally and interacting with it. |
Overview
This guide starts with creating an agent that suggests real-world activities. We will incorporate more components in the next parts of the guide, and at the end we will have a multi-agent system with dynamic planning and orchestration capabilities.
In this part of the guide you will:
-
Create a new, empty Akka project
-
Create an
Agent -
Create an HTTP endpoint to expose the agent
Prerequisites
-
Java 21, we recommend Eclipse Adoptium
-
Apache Maven version 3.9 or later
Create the empty project
-
From a command line, use the Akka CLI to create a new project. See installation instructions if you haven’t installed the CLI yet.
akka code init --name helloworld-agent --repo akka-samples/empty.git -
Navigate to the new project directory.
-
Open it in your preferred IDE / Editor.
You can continue from the helloworld-agent project.
|
This guide is written assuming you will follow it as a tutorial to walk through all of the components, building them on your own. If at any time you want to compare your solution with the official sample, check out the GitHub Repository. |
Add the Agent
We will add an agent that suggests real-world activities. Add a new file ActivityAgent.java to src/main/java/com/example/application/
import akka.javasdk.agent.Agent;
import akka.javasdk.annotations.Component;
import org.slf4j.Logger;
import org.slf4j.LoggerFactory;

@Component(id = "activity-agent") (1)
public class ActivityAgent extends Agent { (2)

  private static final Logger logger = LoggerFactory.getLogger(ActivityAgent.class);

  private static final String SYSTEM_MESSAGE =
    """
    You are an activity agent. Your job is to suggest activities in the
    real world. Like for example, a team building activity, sports, an
    indoor or outdoor game, board games, a city trip, etc.
    """.stripIndent();

  public Effect<String> query(String message) { (3)
    logger.info("Invoked with: {}", message);
    return effects()
      .systemMessage(SYSTEM_MESSAGE) (4)
      .userMessage(message) (5)
      .thenReply();
  }
}| 1 | Annotate the class with @Component and pass a unique identifier for this agent type. |
| 2 | Class extends Agent. |
| 3 | Define the command handler method. |
| 4 | Define the system message as a constant, and use the system message in the effect builder. |
| 5 | Define the user message for the specific request, and use in the effect builder. |
The system message provides system-level instructions to the AI model that defines its behavior and context. The system message acts as a foundational prompt that establishes the AI’s role, constraints, and operational parameters. It is processed before user messages and helps maintain consistent behavior throughout the interactions.
The user message represents the specific query, instruction, or input that will be processed by the model to generate a response.
Add an Endpoint
Add a new file ActivityEndpoint.java to src/main/java/com/example/api/
import akka.javasdk.annotations.Acl;
import akka.javasdk.annotations.http.HttpEndpoint;
import akka.javasdk.annotations.http.Post;
import akka.javasdk.client.ComponentClient;
import java.util.UUID;

// Opened up for access from the public internet to make the service easy to try out.
// For actual services meant for production this must be carefully considered,
// and often set more limited
@Acl(allow = @Acl.Matcher(principal = Acl.Principal.INTERNET))
@HttpEndpoint
public class ActivityEndpoint {

  public record Request(String message) {}

  private final ComponentClient componentClient;

  public ActivityEndpoint(ComponentClient componentClient) { (1)
    this.componentClient = componentClient;
  }

  @Post("/activities")
  public String suggestActivities(Request request) {
    var sessionId = UUID.randomUUID().toString();
    return componentClient
      .forAgent()
      .inSession(sessionId)
      .method(ActivityAgent::query) (2)
      .invoke(request.message());
  }
}| 1 | Inject the ComponentClient, which is used to call the agent. |
| 2 | Call the ActivityAgent created in the previous step |
Running the service
Akka has support for many AI providers, and this sample is using OpenAI. This is the configuration:
akka.javasdk {
  agent {
    model-provider = openai

    openai {
      model-name = "gpt-4o-mini"
      api-key = ${?OPENAI_API_KEY}
    }
  }
}
Set your OpenAI API key as an environment variable:
- Linux or macOS
-
export OPENAI_API_KEY=your-openai-api-key - Windows 10+
-
set OPENAI_API_KEY=your-openai-api-key
Start your service locally:
mvn compile exec:javaOnce successfully started, any defined Endpoints become available at localhost:9000 and you will see an INFO message that the Akka Runtime has started.
In another shell, you can now use curl to send requests to this Endpoint.
curl -i -XPOST --location "http://localhost:9000/activities" \
  --header "Content-Type: application/json" \
  --data '{"message": "I am in Madrid. What should I do?"}'
The AI response might look something like this…
In Madrid, you can visit historic sites like the Royal Palace, stroll in Retiro Park, explore
the Prado and Reina Sofia art museums, savor local cuisine at Mercado de San Miguel, or take a
guided walking tour through lively neighborhoods such as Malasaña and Chueca.
If you decide to use the local console’s request builder instead of curl, you might see something similar to the
following screenshot (if you’re following along step-by-step, your output will show fewer steps):
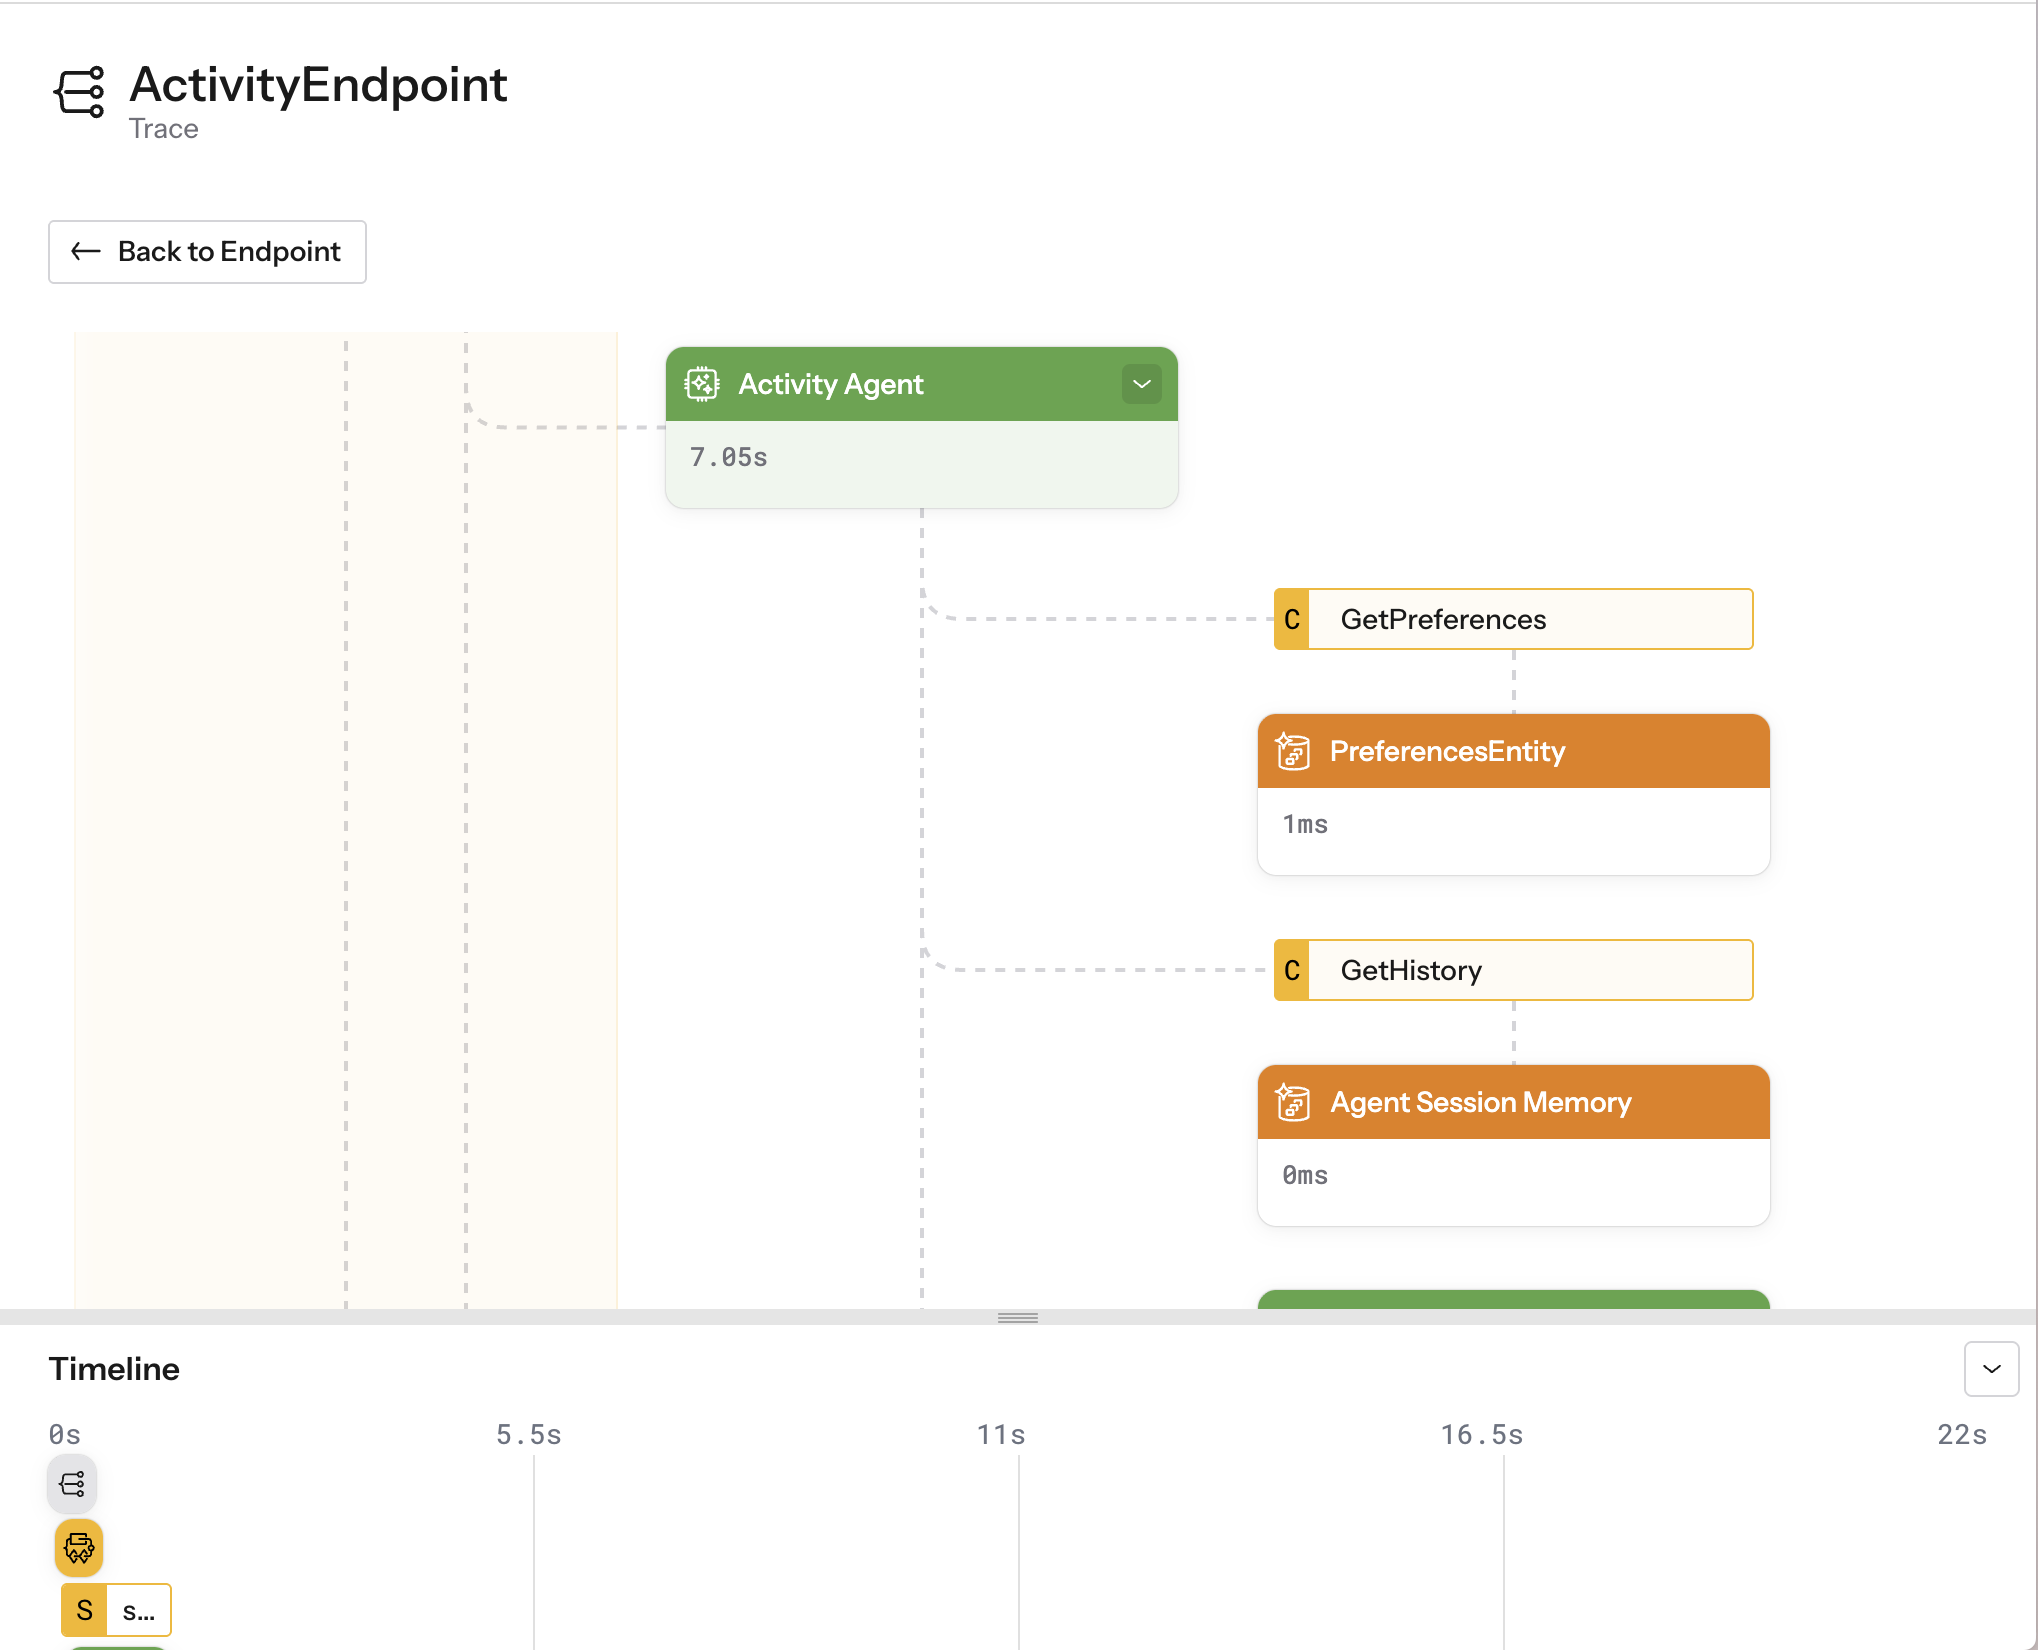
|
It may take 10s of seconds for the AI model to respond. |
Next steps
-
To make the activity suggestions more personalized, we will add user preferences that the
ActivityAgentwill use. Continue with User preferences. -
Learn more about the
Agentcomponent.