Running in an IDE
Below are instructions for how to run Lightbend Telemetry from inside an IDE. Basically, it is all about ensuring that the project is run with a -javaagent command line option that points to the Cinnamon agent jar file.
We will use the same application, Hello Akka, as in sbt, Maven and Gradle examples. Follow the setup instruction from any of the three build tool instructions and import the project into your favorite IDE.
IntelliJ
Import the project and thereafter open Run -> Edit Configurations and click on the + sign to add a new configuration. Select Application and add the following information under the tab Configuration:
| Setting | Value |
|---|---|
| Name | HelloAkkaScala |
| Main class | HelloAkkaScala |
| VM options | -javaagent:Path to Cinnamon agent JAR file on your local file system |
| Use classpath or module | hello_akka_sample |
| JRE | 1.8 |
The path to the agent jar file depends on what build tool that is used. By default, it is under ~/.ivy2/cache when resolved by sbt and under ~/.m2/repository when resolved by Maven.
Below is an example configuration:

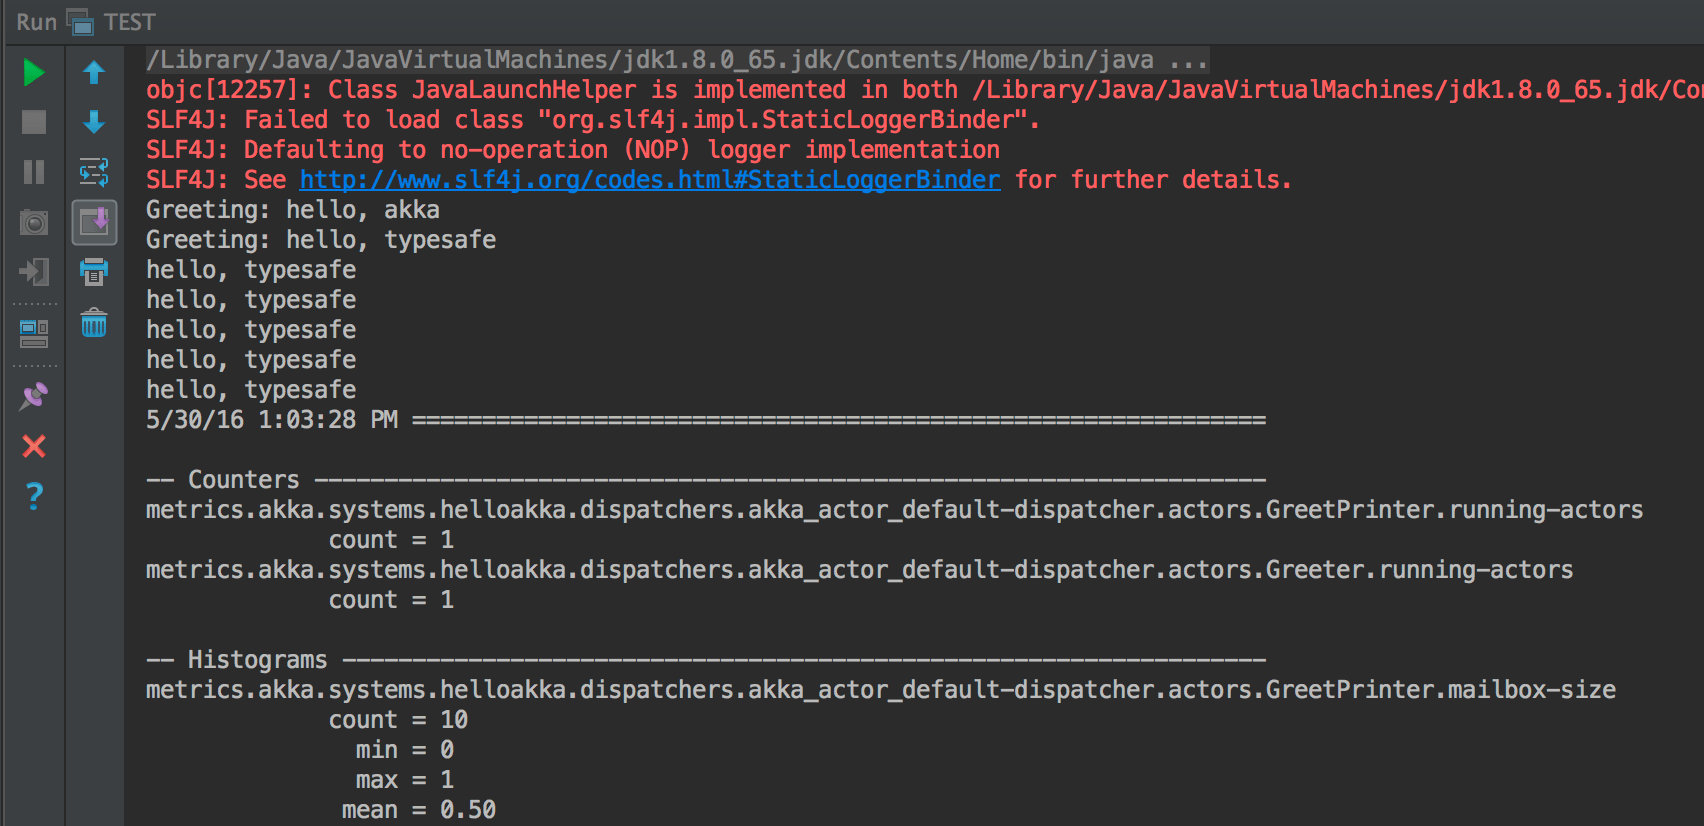
Next step is to use this configuration when running by selecting Run -> Run 'HelloAkkaScala'. You should see an output similar to this:

Eclipse
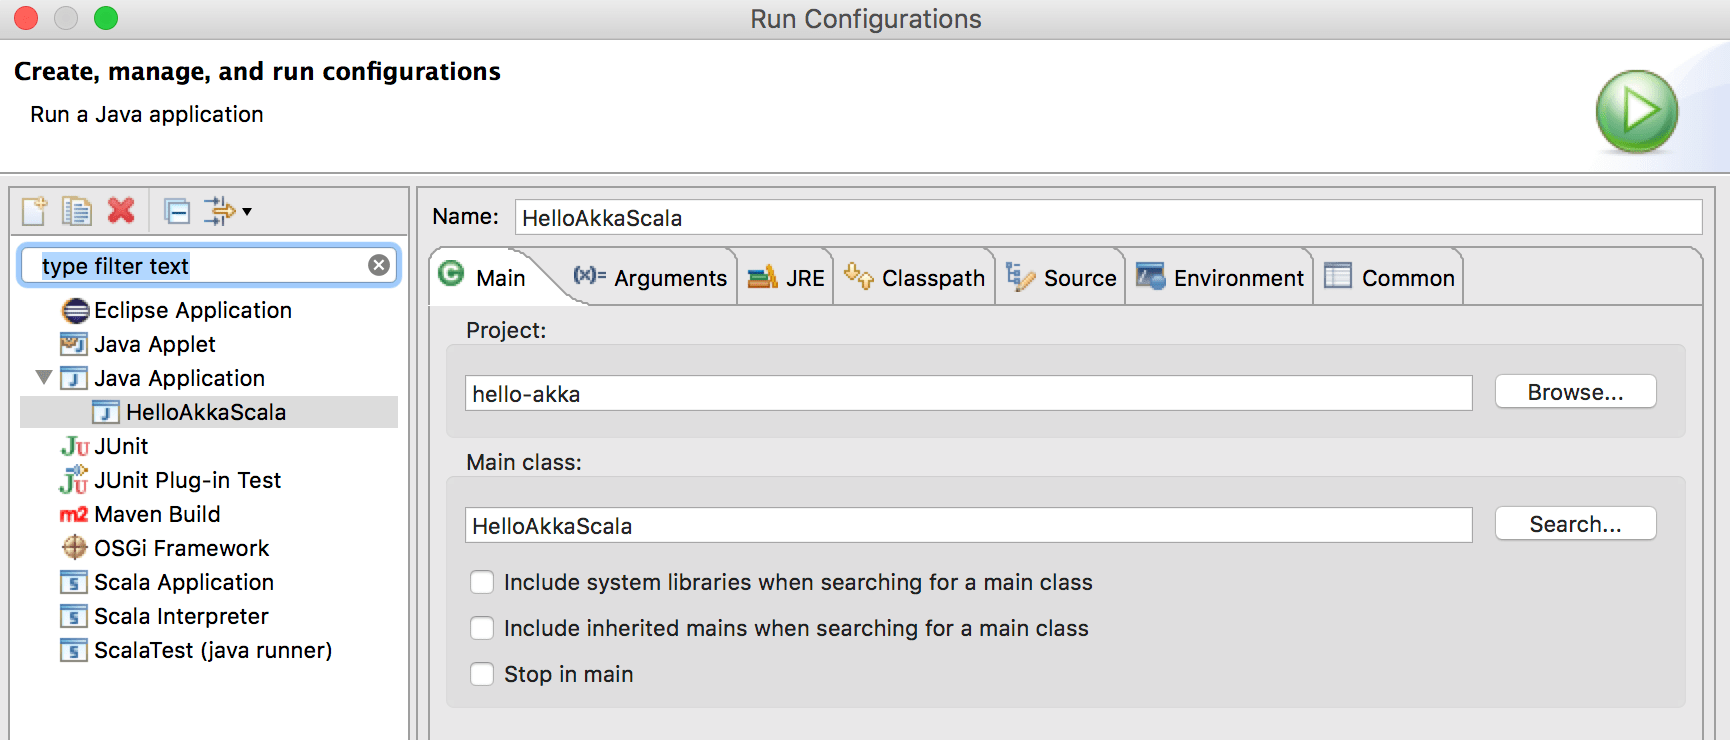
Import the project into your workspace and thereafter open Run -> Run configurations.... Click on Java Applications, select New and add the following settings:
| Setting | Value |
|---|---|
| Name | HelloAkkaScala |
Main tab
| Setting | Value |
|---|---|
| Project | hello-akka |
| Main class | HelloAkkaScala |
Example configuration:

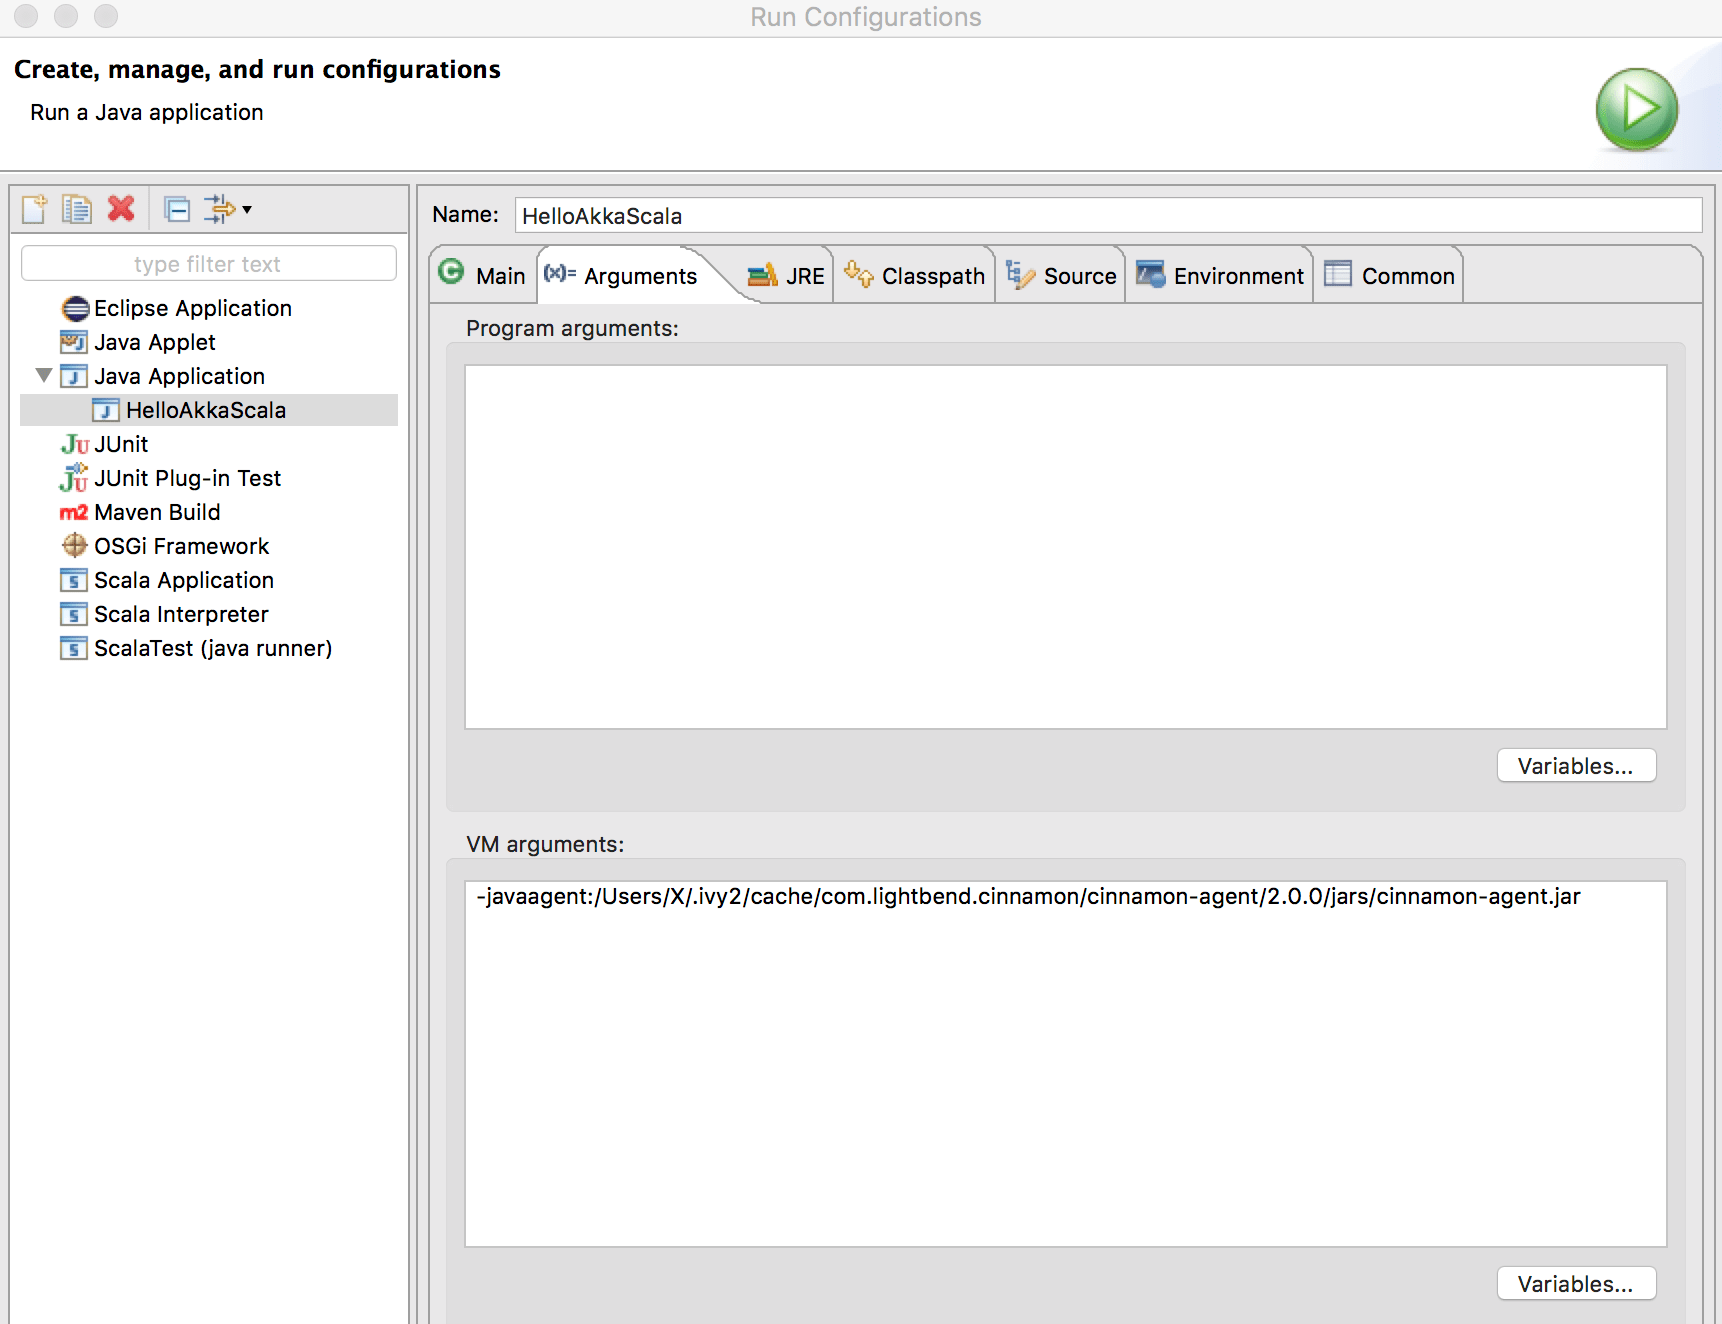
Arguments tab
| Setting | Value |
|---|---|
| VM arguments | -javaagent:Path to Cinnamon agent JAR file on your local file system |
The path to the agent jar file depends on what build tool that is used. By default, it is under ~/.ivy2/cache when resolved by sbt and under ~/.m2/repository when resolved by Maven.
Example configuration:

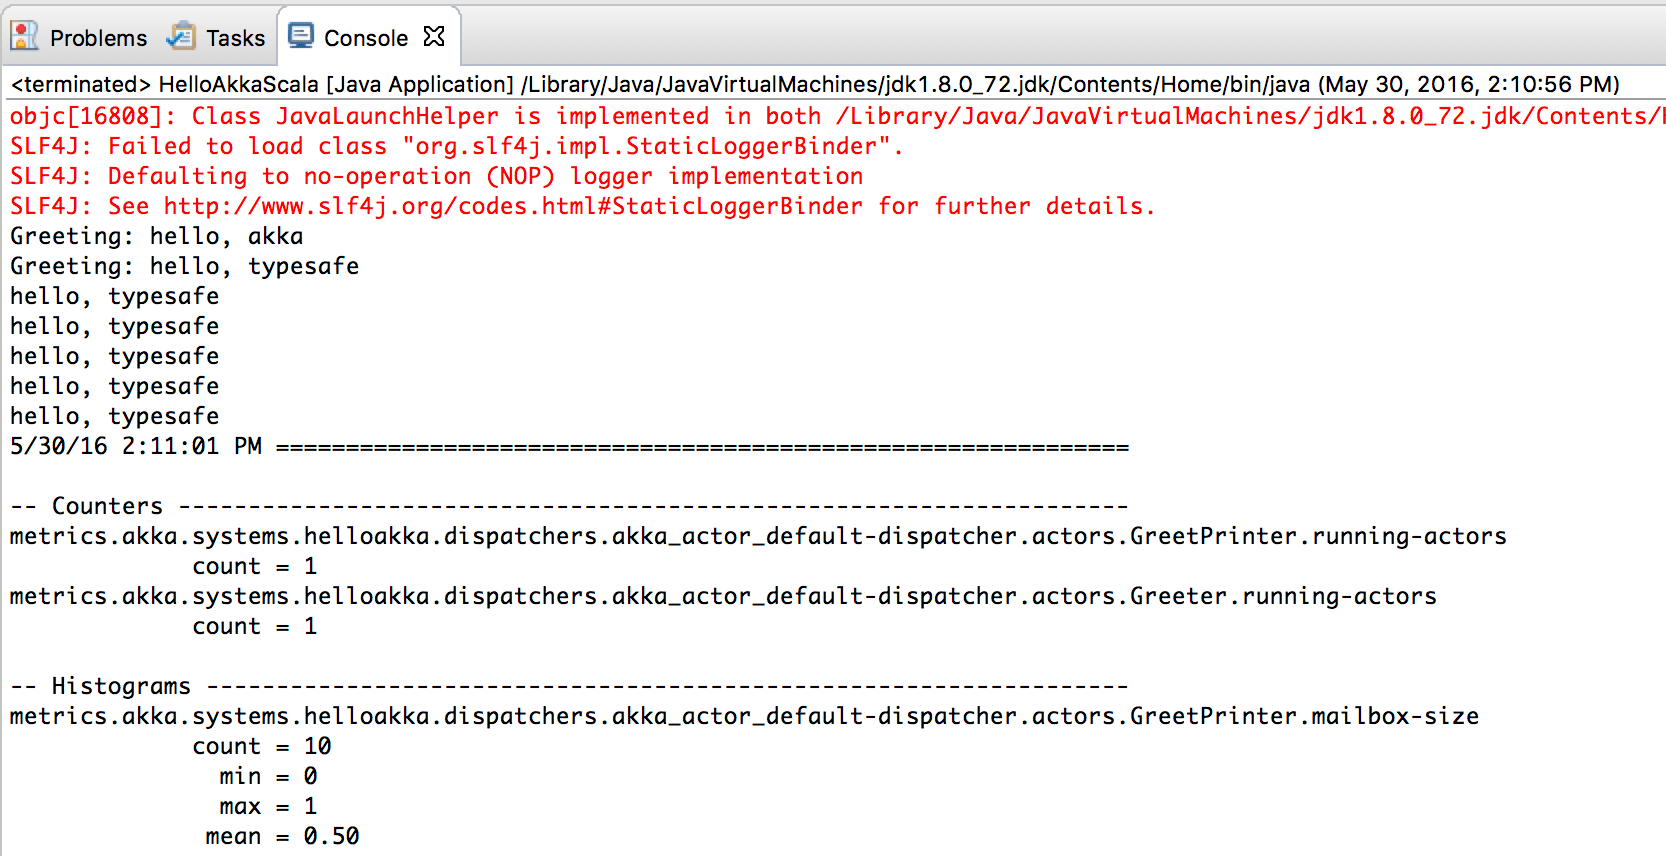
Once the above is filled out it is time to run the application by clicking on Run. The output should look something like this:
